Key Takeaways
✔ Skipping prep work is one of the most common mistakes in painting baseboards.
✔ Proper caulking and repairs ensure a smoother, longer-lasting finish.
✔ Using the right paint type and finish prevents peeling and wear.
✔ Rushing the job leads to drips, brush marks, and uneven coverage.
✔ Protecting the surrounding areas avoids damage to floors and walls.
✔ Working with professionals improves results and saves time.
✔ Regular cleaning and touch-ups help maintain painted baseboards year-round.
5 Most Common Pitfalls to Avoid When Trimming and Painting Baseboard
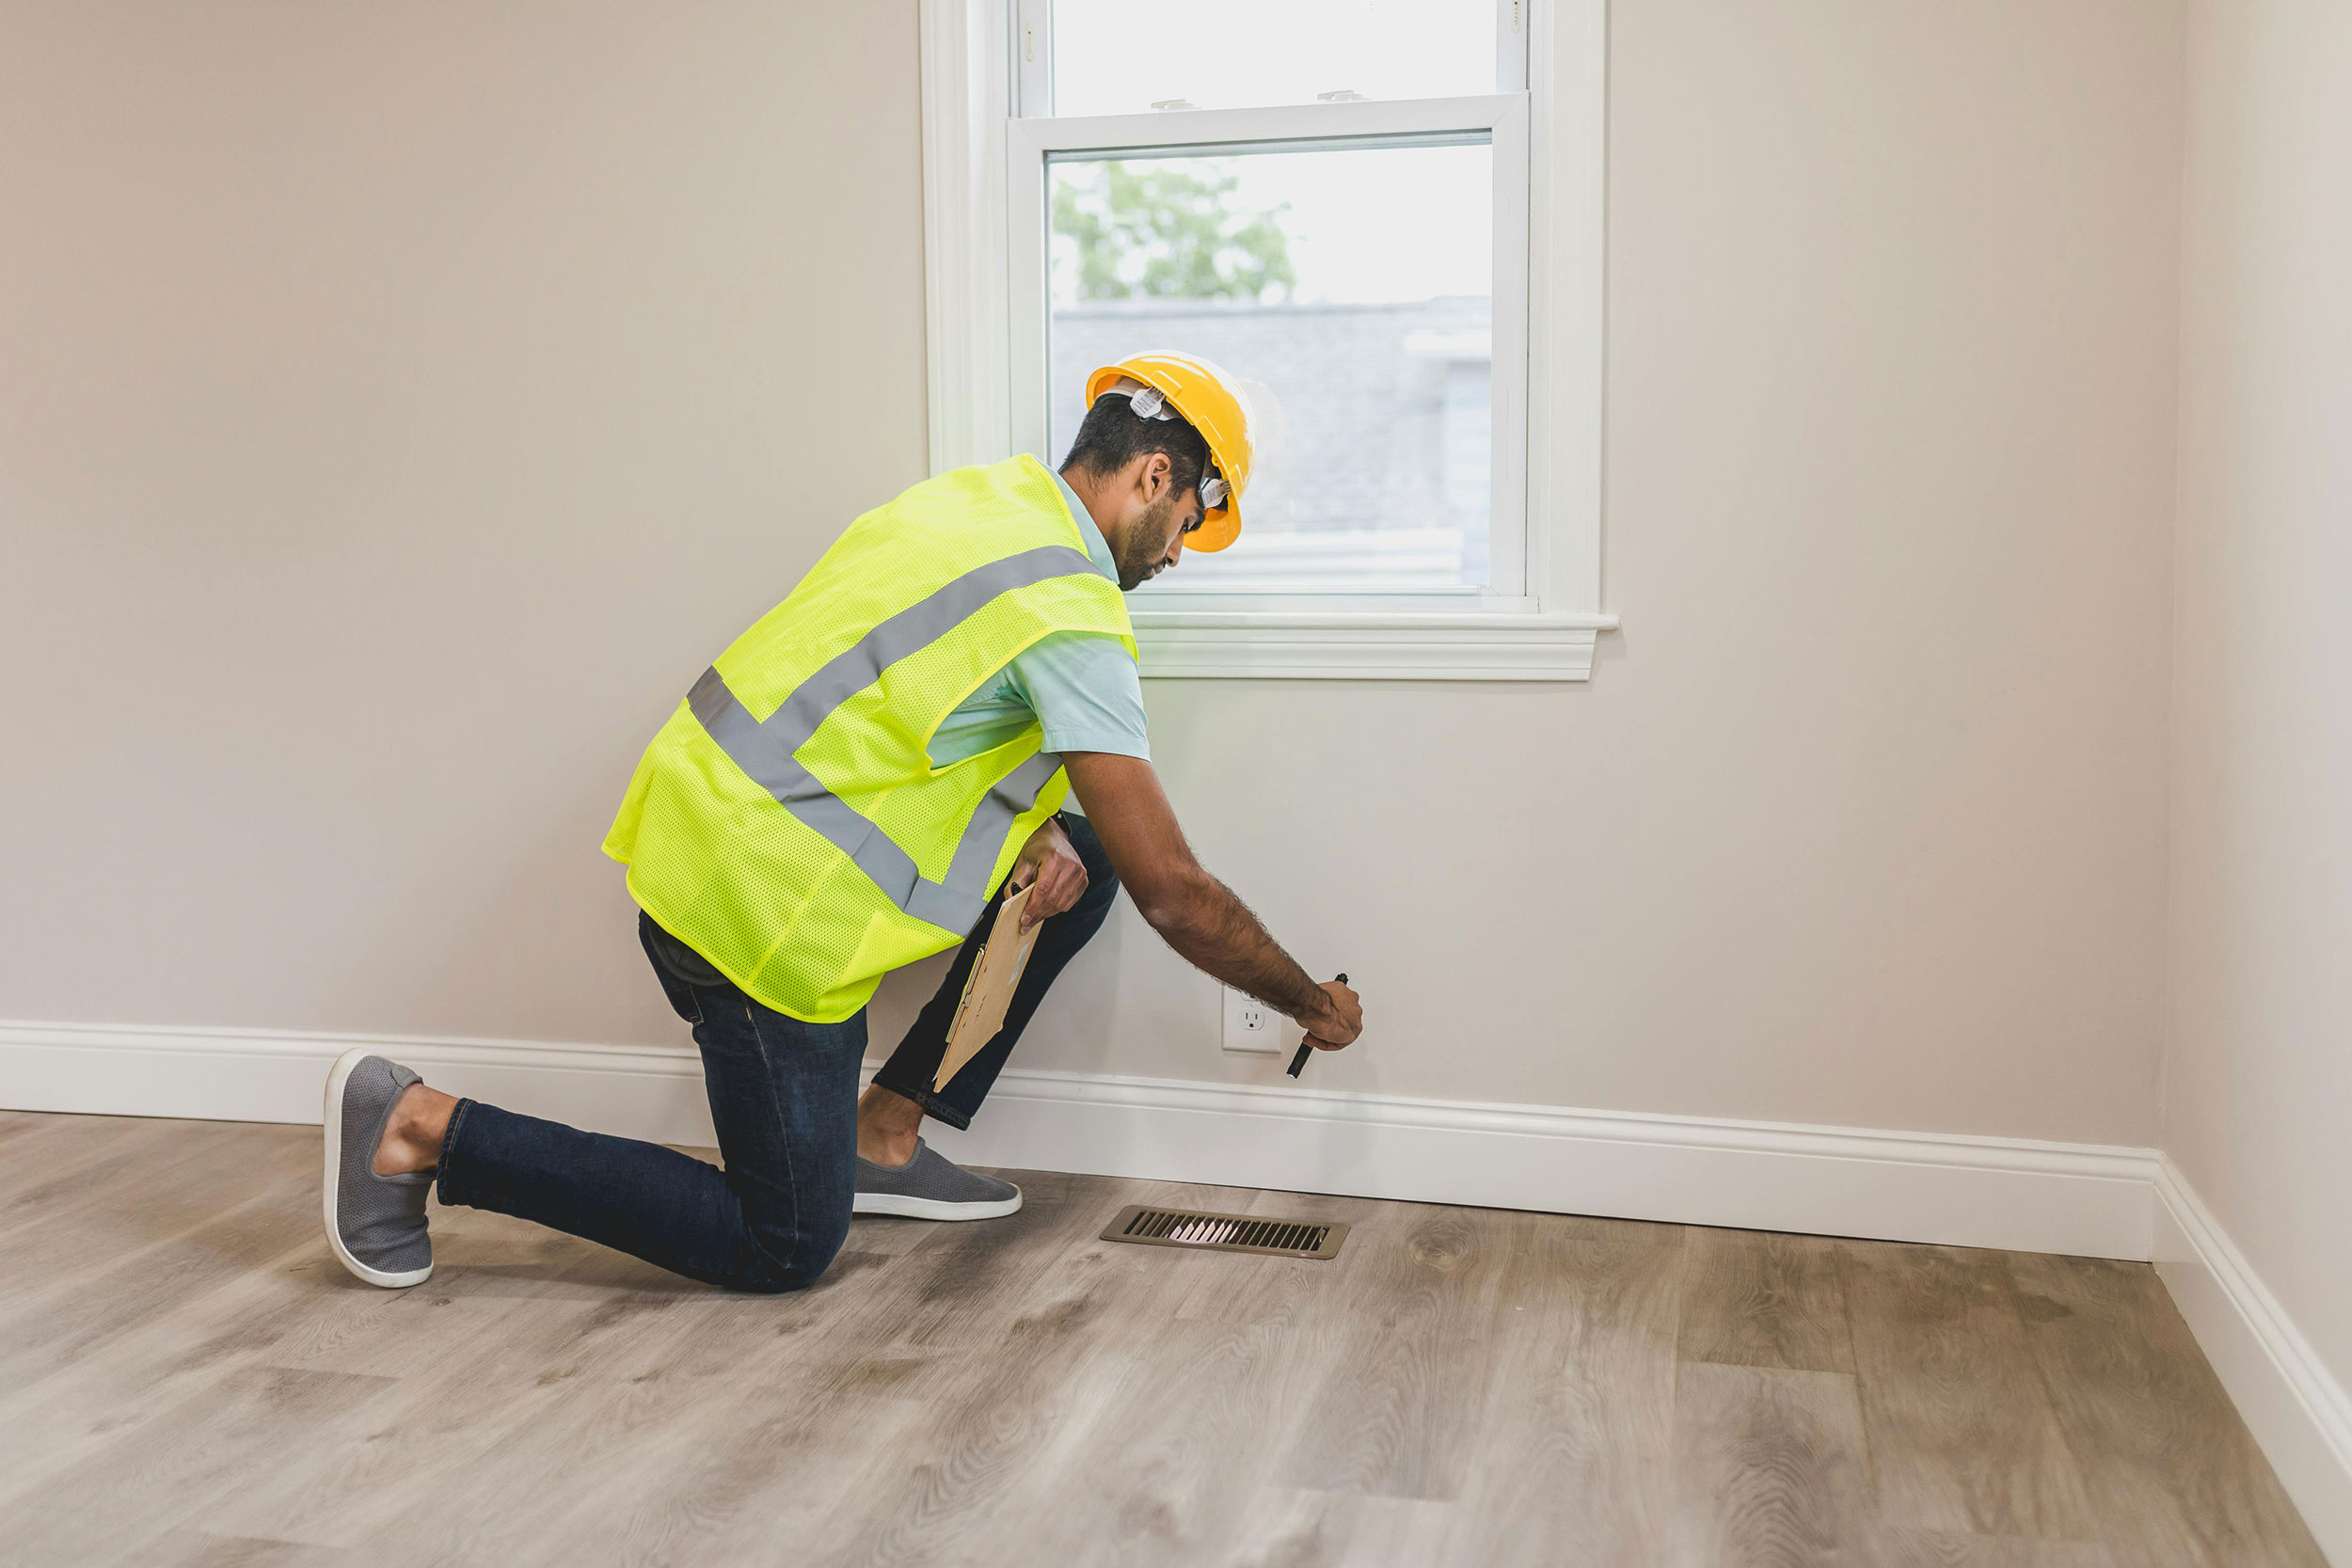
1. Skipping Surface Prep
Rushing into painting baseboards without prepping the surface is a fast way to get poor results. Dust, old finishes, and uneven surfaces all prevent paint from sticking well. A few extra prep steps go a long way toward a clean, professional look.
How Prep Impacts Paint Quality
- Surface Dirt Affects Adhesion: Dirt, pet hair, and residue from household cleaners often collect at the bottom of walls and baseboards. Painting over that buildup traps grime under the paint and weakens adhesion, leading to early peeling.
- Glossy Finishes Resist New Coats: Many baseboards have a semi-gloss or satin finish that resists new paint. Light sanding with 120–150 grit paper breaks the shine just enough for better grip and longer-lasting results.
- Cracks and Dents Show Through Paint: Small nail holes, chipped corners, or dents become more noticeable after painting. A quick fill with spackle and a smooth sanding makes the surface ready for a flawless coat, improving both durability and appearance during repainting baseboards.
2. Skipping Caulking and Repairs
Many overlook the importance of sealing gaps and fixing flaws before painting baseboards. Unsealed cracks between the baseboard and wall stand out even more after painting. Proper caulking and repairs create a smooth, professional finish that lasts longer.
Why Caulking and Repairs Matter
- Visible Gaps Break the Clean Line: Small gaps where the wall meets the trim may seem harmless, but they show up clearly under fresh paint. Using a paintable latex caulk fills those lines and helps trim and baseboard painting look seamless.
- Old Nail Holes and Damage Reappear: Nail pops, scuffs, and dents might fade into the background before painting, but they become highly noticeable afterward. Spackling these areas, sanding them smooth, and allowing them to dry fully ensures the final result is polished and free from distractions.
- Improper Caulking Causes Cracking: Caulk applied too thick or too fast can crack as it dries. For the best results, apply a thin, consistent bead with a caulking gun and smooth it out with a damp finger or sponge—this is one of the most overlooked baseboard painting tips.
3. Using the Wrong Paint or Finish
Not all paints work well for baseboards, and picking the wrong type leads to chipped, dull, or streaky results. Paint finish matters just as much as color when it comes to durability and cleanup. Choosing the right product is key to successful baseboard painting techniques.
How Paint Choice Affects Durability
- Flat Paint Attracts Dirt: Flat or matte finishes lack the durability needed for baseboards, especially in high-traffic areas. They absorb scuffs and dust and can’t be wiped clean easily, making repainting baseboards more frequent than necessary.
- Glossy or Semi-Gloss Works Best: Glossy finishes resist wear and make cleaning easier. A quality semi-gloss or satin paint provides just enough shine to highlight trim details while protecting against everyday bumps and dirt.
- Low-Quality Paint Doesn’t Last: Cheaper paints often require multiple coats and still chip faster. Investing in high-quality paint specifically made for trim and baseboard painting saves time in the long run and produces a smoother, more consistent finish.
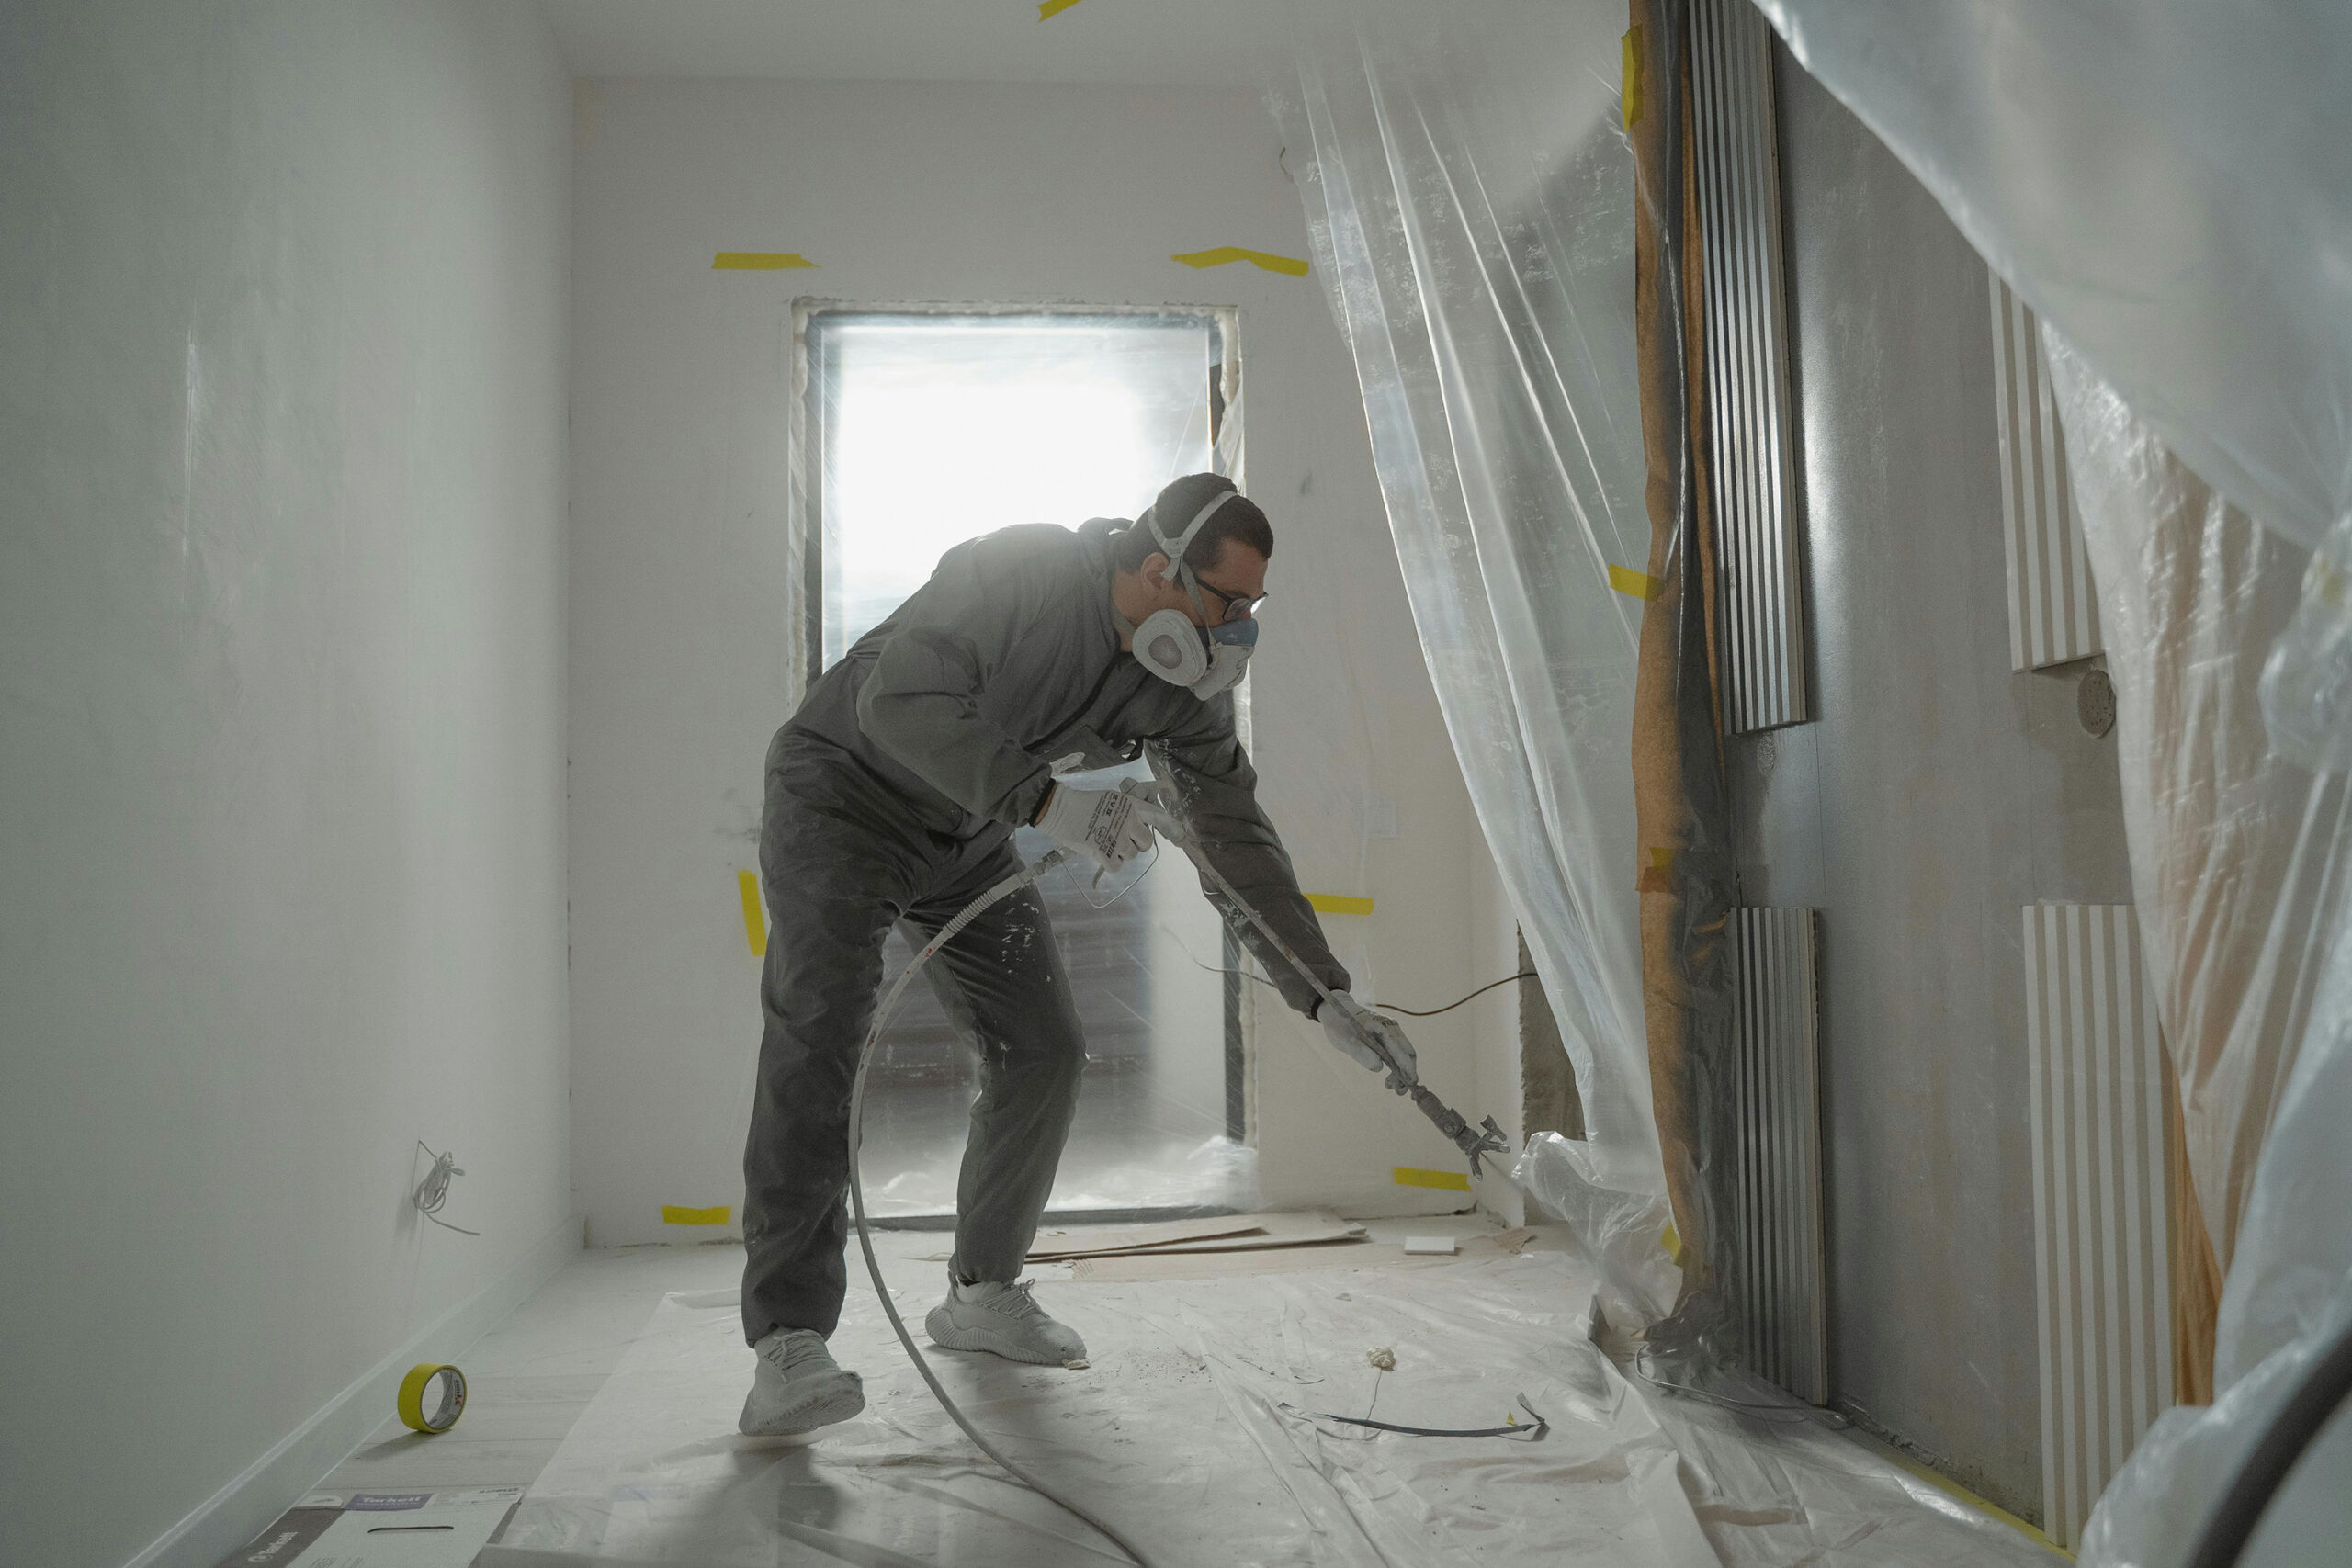
4. Rushing the Painting Process
Baseboard painting takes patience, and skipping steps can ruin the final result. Sloppy brushwork, not letting coats dry, or ignoring recoat times lead to uneven coverage and peeling. A steady, methodical approach is one of the most important baseboard painting techniques.
Why Slowing Down Pays Off
- Thick Coats Lead to Drips: Applying paint too heavily in one go often results in sagging or dripping, especially with glossy finishes. Thin, even coats allow for better control and cleaner lines during painting baseboards.
- Skipping Dry Time Causes Tearing: Touching or taping over partially dried paint can lead to smudges, fingerprints, or tearing when the tape comes off, so allowing full drying time between coats helps protect the work and avoid costly do-overs. That kind of attention to detail matters, especially when pros charge between $1 and $4 per linear foot to paint baseboards.
- Brush Marks Come From Rushing: Fast strokes and cheap brushes create streaks and lines. A steady hand, angled sash brush, and light pressure help achieve a smooth finish, which is essential when focusing on clean trim and baseboard painting.
5. Not Protecting the Surrounding Areas
Baseboards sit close to floors, furniture, and walls, making them easy to accidentally smudge or spill on. Skipping protection steps often leads to extra cleanup—or worse, damage. Careful prep creates a cleaner workspace and better painting baseboards results.
Why Painting Mishaps Should Be Avoided
- Paint Seeps Into Carpet Fibers: Without proper shielding, paint can drip or soak into carpet edges. Using a carpet shield, painter’s tape, or sliding a plastic barrier under the baseboard edge prevents hard-to-remove stains.
- Hardwood Floors Get Scratched or Spotted: Even a single drop of paint can leave a lasting mark on wood flooring. A layer of rosin paper or a plastic drop cloth taped securely to the floor helps protect these surfaces during baseboard painting.
Wall Edges Suffer Without Tape: Skipping tape or using the wrong type can lead to smudges or uneven lines along the wall. Quality painter’s tape pressed firmly along the wall and removed at an angle while the paint is still tacky ensures a clean edge and professional finish—one of the top baseboard painting tips worth following.
How to Pick the Right Color for Baseboards
Color choice plays a bigger role in painting baseboards than many expect. A carefully chosen shade can highlight architecture, tie together a room, or create subtle contrast. Whether refreshing old trim or repainting baseboards entirely, working with professionals ensures color choices complement the space and follow smart baseboard painting tips.
1. Stick With White for a Classic, Clean Look
White remains the most popular choice for trim and baseboard painting thanks to its timeless appeal. It pairs well with any wall color and gives a crisp, polished finish that brightens a room. Professionals often recommend warm or cool undertones depending on the lighting and floor tone.
2. Match Baseboards to Wall Color for a Seamless Look
Painting baseboards the same color as the walls can create a smooth, minimalist feel—especially in smaller or modern spaces. This technique works well with softer, muted tones and gives the illusion of more space. When done with expert baseboard painting techniques, the result is subtle and sophisticated.
3. Choose a Contrasting Color to Add Depth
Using a deeper or bolder tone on baseboards can frame the room and draw attention to the trim itself. For example, charcoal or navy against light walls adds visual weight and personality. Repainting baseboards in bold colors requires clean lines and even coats, which professionals can deliver more reliably.
4. Coordinate With Flooring to Tie the Room Together
Professionals often consider floor color when planning trim and baseboard painting. Matching the baseboards to wood tones or tile grout lines can anchor the room visually. This approach works especially well in open floor plans where flow matters.
5. Use Satin or Semi-Gloss for Light Reflection
While not a color per se, the finish impacts how the color appears. A semi-gloss or satin finish reflects light and highlights the baseboard’s shape, making the room feel brighter. Painting baseboards with the right finish also protects the color from scuffs and stains, a common concern in busy areas.
6. Test Swatches in Natural and Artificial Light
A paint color can shift drastically between morning light and evening shadows. Before finalizing a shade, professionals recommend testing swatches at different times of day and under room lighting. This step is often overlooked during DIY repainting baseboards but makes a big difference in the final appearance.
Why Hire Professional Painters for Baseboard Painting Projects
While painting baseboards may seem like a simple task, it often requires more precision, patience, and technique than expected—qualities that professional painters bring with experience, the right tools, and a sharp eye for detail. It’s no surprise, then, that the house painting industry has grown steadily, with revenue reaching $22.6 billion in 2024 after a five-year annual rate of 0.7%.
1. Expert Surface Preparation Prevents Future Problems
Professionals know that successful painting begins long before the first brushstroke. They clean, sand, and fill imperfections thoroughly—eliminating issues like peeling or uneven paint. Their prep work ensures repainting baseboards looks fresh and holds up against daily wear.
2. Professionals Use High-Quality Paint and Finishes
Experienced painters select the best paint type and sheen for trim and baseboard painting. They understand which products offer durability and easy cleaning without sacrificing visual appeal. This knowledge results in longer-lasting results and fewer touch-ups.
3. Precision Techniques Deliver Flawless Lines
Baseboard painting techniques require a steady hand and the right tools, especially where walls and floors meet. Professionals use angled brushes, taping methods, and cutting-in skills to create crisp, clean lines. This level of detail often separates amateur jobs from professional ones.
4. Faster Project Completion With Minimal Disruption
Professional painters work efficiently, completing the job in less time than a DIY attempt. They manage everything from prep to cleanup, allowing homeowners to focus on other priorities. When painting baseboards, their speed doesn’t sacrifice quality.
5. Experts Spot Issues Before They Become Expensive Fixes
Professionals recognize hidden damage like water stains, soft wood, or improper caulking that may go unnoticed by untrained eyes. Addressing these early keeps repainting baseboards from becoming a larger repair project later. Their proactive approach saves time, money, and stress.
6. Guaranteed Results and Peace of Mind
Many reputable painters offer warranties or satisfaction guarantees, giving clients confidence in the final outcome. When baseboard painting tips and techniques are executed by trained hands, the risk of mistakes drops dramatically. Hiring professionals brings peace of mind that the job will be done right the first time.
How to Clean and Maintain Painted Baseboards
Freshly painted baseboards can brighten a room, but they also tend to collect dust, scuffs, and pet hair quickly. Keeping them clean and well-maintained helps preserve their look and extends the life of the paint. Following a simple care routine—and knowing when to call in professionals—can keep trim and baseboard painting looking sharp for years.
1. Dust Weekly to Prevent Build-Up
Baseboards attract dust faster than most realize, especially in homes with high foot traffic or pets. Using a microfiber cloth or vacuum attachment once a week prevents debris from sticking to the paint. Regular dusting protects the finish and is one of the easiest baseboard painting tips to follow.
2. Use a Mild Cleaner for Spot Washing
For stains or fingerprints, a mix of warm water and a small amount of dish soap works well. Avoid harsh chemicals or scrubbing pads, which can dull or damage the surface of freshly painted baseboards. Professionals recommend blotting instead of wiping to protect the paint layer.
3. Protect the Finish From Moisture Damage
In areas like kitchens or bathrooms, baseboards may be exposed to moisture, steam, or spills. Wipe up any water immediately and avoid wet mops touching the trim. Repainting baseboards in these areas may require extra protection like a more durable semi-gloss finish.
4. Touch Up Chips and Scuffs Promptly
Small chips or scuffs can happen from vacuums, shoes, or furniture. Keep a small container of leftover paint and an angled brush on hand for quick fixes. Touch-ups prevent larger repainting baseboards jobs later and maintain the clean look of trim and baseboard painting.
5. Inspect Caulking and Seams Every Few Months
Even after a quality job, caulk lines can shrink or crack over time due to seasonal changes or settling. A quick visual check every few months helps catch issues early. Maintaining these joints ensures painting baseboards still looks crisp and prevents dirt from collecting in gaps.
6. Hire Professionals for Deep Cleaning or Refinishing
If baseboards are deeply stained, peeling, or showing signs of aging paint, it may be time for expert help. Professionals can assess whether deep cleaning or full repainting baseboards is the better option. Their knowledge of baseboard painting techniques ensures the job is done safely and beautifully without damaging adjacent walls or flooring.
Frequently Asked Questions (FAQs)