
How to Tape Walls for Painting
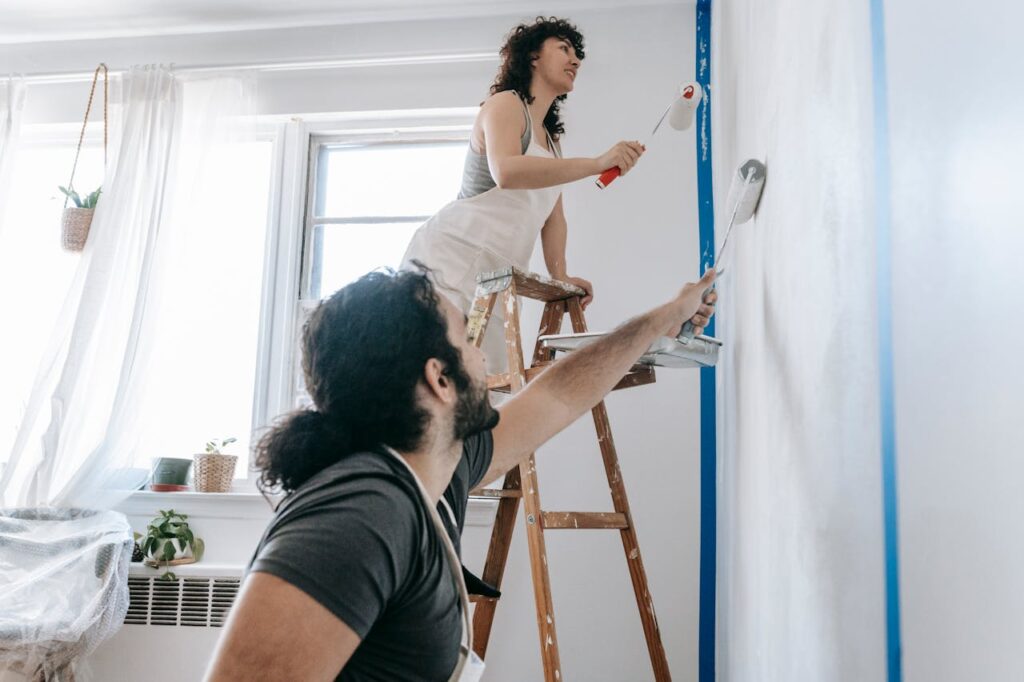
Nothing transforms a room quite like a fresh coat of paint. But if you’ve ever painted walls yourself, you know that achieving sharp, clean lines isn’t always easy. Stray brush strokes, uneven edges, and paint bleeding onto trim can quickly turn a DIY project into a frustration. That’s why knowing how to tape walls for painting is one of the most valuable skills for homeowners.
Taping not only protects trim, ceilings, and baseboards but also allows you to explore painting designs with painters tape for accent walls and creative patterns. Whether you’re tackling a small bedroom or planning a bold two-tone living room, the right tricks for taping before painting will make the process smoother and the results more professional.
Table of Contents
Key Takeaways
✔ Taping walls properly is the foundation of a professional-quality paint job.
✔ High-quality painter’s tape and firm sealing prevent paint from bleeding under the edges.
✔ Creative masking tape paint ideas allow you to design stripes, geometric patterns, and accent walls.
✔ Remove tape at the right time—while paint is slightly wet—to avoid peeling and get clean edges.
✔ Southbury House Painting Experts provide flawless results for homeowners who want perfect finishes without the stress of DIY.
Why Taping Walls Matters Before Painting
Taping is often overlooked, but it’s the foundation of a high-quality paint job. Skipping tape might save a few minutes, but it usually results in longer cleanup or unsightly edges. For homeowners who want their DIY paint job to look like it was done by a pro, mastering this step is essential.
Proper taping ensures:
- Professional-looking edges instead of messy, uneven lines.
- Protection for trim, ceilings, and baseboards from stray strokes.
- No paint bleed-through, thanks to sealed tape edges.
- Confidence to try creative designs with geometric shapes or stripes.
Materials You’ll Need for Taping a Room
Before starting, gather the right tools. Having everything ready will make taping quick and efficient:
- Painter’s tape (preferred) or high-quality masking tape.
- Putty knife or flat edge to press down tape for a tight seal.
- Drop cloths or plastic sheeting to protect floors and furniture.
- Step ladder for ceilings and corners.
- Utility knife or scissors for cutting tape cleanly.
- Level or ruler if you’re creating straight-line designs.
How to Tape Room for Painting — Step by Step
Learning how to tape a room for painting is all about preparation and precision. With the average cost to paint the interior of a house running about $2,021, taking the time to tape properly can protect your investment. Follow these steps for the best results:
Step 1: Clean the Surfaces
Dirt, dust, and oils prevent tape from sticking properly. Wipe down walls, trim, and baseboards with a damp cloth and let them dry completely.
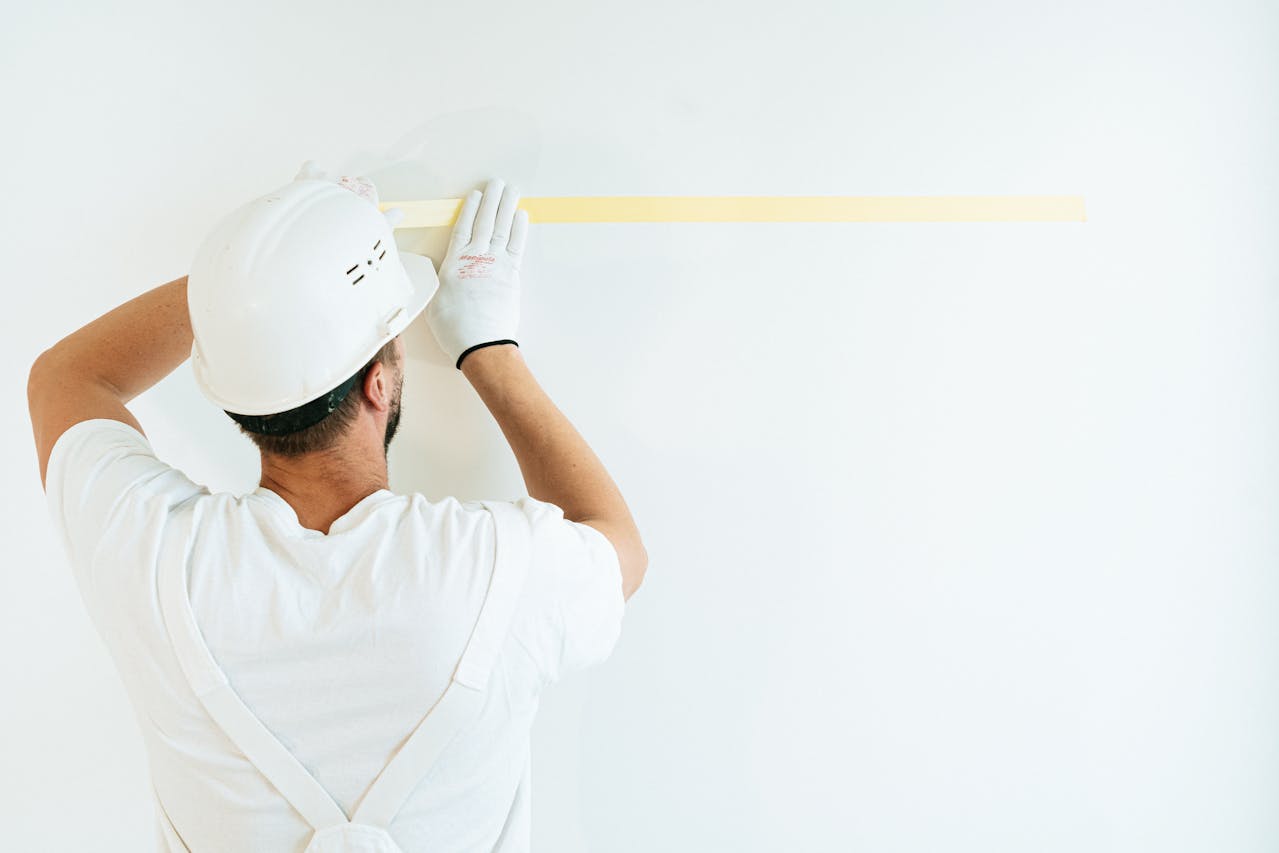
Step 2: Apply Tape to Trim and Edges
Start with baseboards, window frames, and door frames. Apply the tape carefully along the edge where paint might overlap.
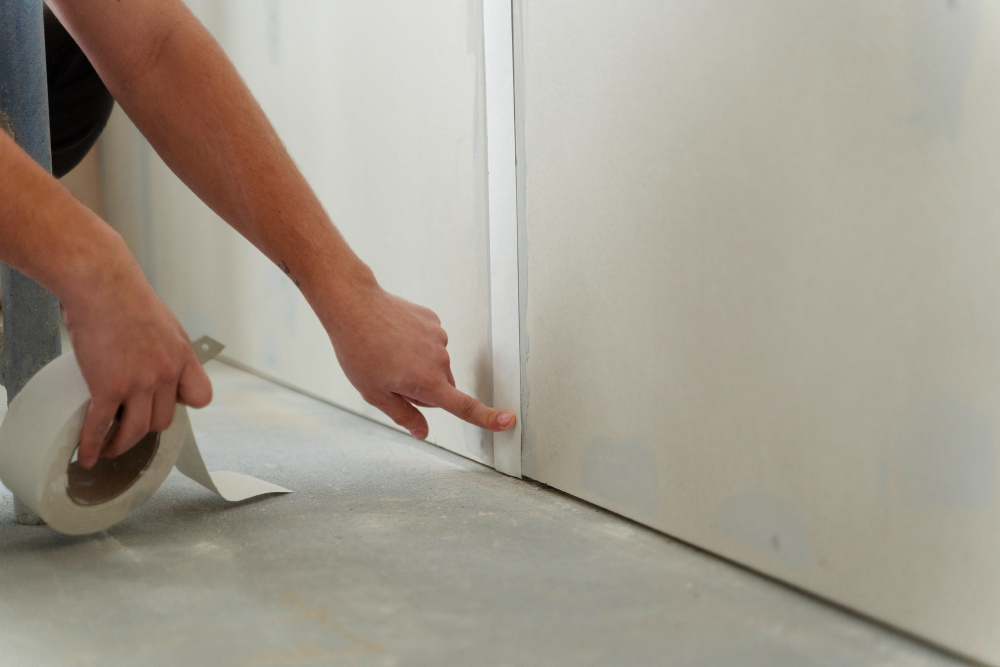
Step 3: Seal the Tape Edges
Use a putty knife or flat edge to press the tape firmly against the surface. This prevents paint from seeping underneath.
Step 4: Work in Corners with Short Strips
Instead of stretching long pieces, use shorter sections of tape in corners for more accuracy. Overlap edges slightly to avoid gaps.
Step 5: Protect Outlets, Switches, and Windows
Cover outlet covers and switch plates with tape. For windows, tape along the glass edges if you’re painting the trim.
Tricks for Taping Before Painting
Even with tape in place, small mistakes can ruin the final look, especially for painting designs with painters tape ideas. Use these tricks for taping before painting:
- Press firmly with a putty knife to ensure tape edges are sealed.
- Paint away from the tape edge to reduce bleed-through.
- Remove tape at a 45-degree angle while the paint is slightly wet.
- Don’t leave tape on too long—remove within 24 hours for best results.
- Work in sections rather than taping the entire room at once to stay accurate.
Painting Designs with Painter’s Tape — Creative Masking Tape Paint Ideas
With over 147.8 million homes in the United States fueling steady demand for residential painting, more homeowners are turning to painter’s tape not only for protection but also for creative design projects. Here are some painting designs with painters tape ideas to try:
- Geometric Accent Walls – Create triangles, diamonds, or herringbone patterns.
- Bold Stripes – Horizontal or vertical stripes add depth and dimension.
- Two-Tone Rooms – Divide walls into upper and lower sections for contrast.
- Kids’ Room Shapes – Stars, circles, or fun patterns using painter’s tape as a stencil.
- Chevron or Zigzag Designs – Perfect for playrooms or accent spaces.
Common Mistakes to Avoid When Taping Walls
Taping isn’t difficult, but there are common errors that can sabotage your results. Avoid these mistakes, and your paint job will look cleaner, sharper, and more professional.
- Using cheap tape that leaves sticky residue.
- Not pressing tape firmly, which causes paint to bleed underneath.
- Stretching tape too much, making it peel away from the wall.
- Leaving tape on too long, which can rip off dried paint.
- Skipping prep by applying tape over dirty or dusty surfaces.
Frequently Asked Questions
The proper method is to clean the wall and trim first, then carefully apply painter’s tape along all edges where paint shouldn’t go. Seal the tape edges with a putty knife for extra protection against seepage. Once painting is complete, remove the tape at a 45-degree angle while the paint is still slightly wet.
The key trick is to make sure the tape is sealed tightly to the wall surface. Press down with a flat tool, and always paint away from the tape line rather than directly into it. Removing the tape before the paint dries completely also helps achieve perfectly crisp edges.
To get straight lines, use a level or ruler when applying tape. Press the tape firmly to prevent bleed-through, and use a steady hand when painting near the edge. Painter’s tape can even be layered in patterns to create sharp, geometric designs.
It’s best to remove painter’s tape while the paint is still tacky or slightly wet. If you wait until the paint fully dries, it may peel or chip the paint film. Removing it carefully at a 45-degree angle gives the cleanest results.
Painter’s tape should be applied right before you start painting. It can typically stay in place up to 24 hours after painting, but leaving it on longer risks adhesive residue or peeling when removed. For best results, tape, paint, and remove within the same day.
Transform Your Walls with Southbury House Painting Experts
Clean lines, sharp edges, and creative wall designs all start with proper taping. While these tips can help DIYers achieve professional-looking results, taping and painting an entire room can be time-consuming and tricky. For homeowners in Southbury, CT, who want flawless finishes without the hassle, professional painters are the way to go.
At Southbury House Painting Experts, we specialize in precise, detailed painting that elevates every room. From standard repainting to bold accent walls and intricate designs, our team has the skills and tools to deliver perfection.
Ready for crisp, beautiful paint lines? Contact Southbury House Painting Experts today for expert painting services.